
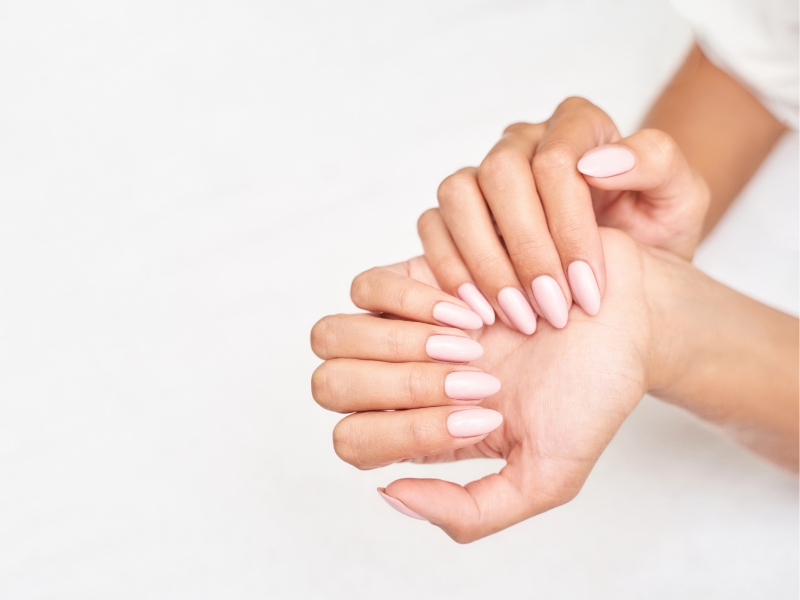
For ladies who love beautiful and eye-catching gel nails, even if you’re a beginner, let’s explore a simple way to achieve perfect gel nails at home without going to a salon. With a detailed guide on basic gel application and important tips, you’ll feel confident beautifying your hands right at home.
1. What is gel polish?
Gel polish is currently a beauty trend loved by many women thanks to its durability, wide range of colors, and glossy finish. Without going to a salon, you can absolutely apply gel polish at home with just a few simple steps.
2. The most accurate basic gel application process for beginners
The most accurate basic gel application process for beginners
2.1 What tools do you need before applying gel polish?
To achieve a perfect gel manicure, you need to prepare the following tools:
Nail cleaning and shaping tools:
- Nail clippers: Used to trim nails to your desired length.
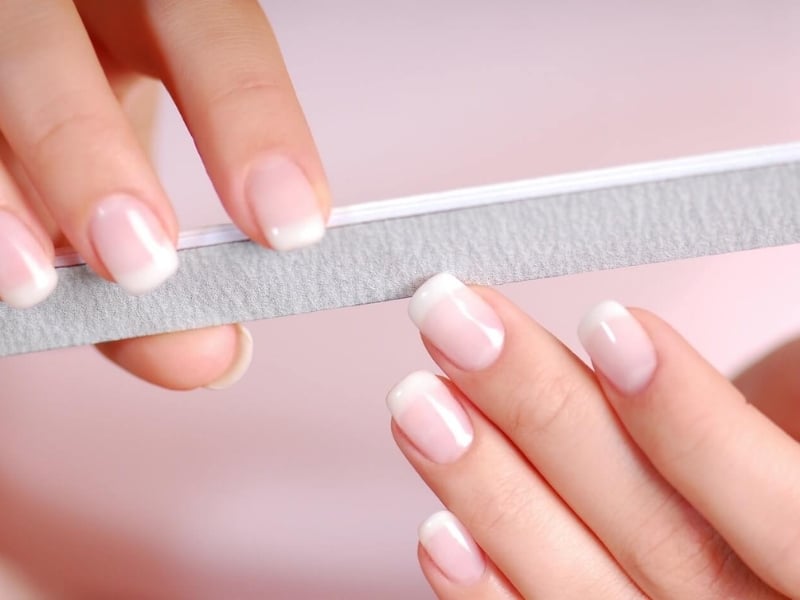
- Nail file: Shapes the nails and roughens the nail surface so gel polish adheres better.
- Cuticle pusher: Gently pushes back cuticles to prevent polish from lifting or smudging.
- Nail brush: Cleans dust and residue from nails before polishing.
- Cotton swabs/cotton pads: Used to clean gel polish smudges.
- Hand sanitizer/alcohol: Cleans hands and nails before application.
Gel polish tools:
- Colored gel polish: Choose colors that suit your style.
- Base coat: Protects natural nails and helps gel polish adhere better.
- Top coat: Adds shine and protects the color layer, making nails last longer.
- UV/LED lamp: Cures gel layers quickly and effectively.
2.2 Basic gel application steps
Step 1: Clean the nails
- Remove old polish using nail polish remover (if any).
- Trim and file nails into your desired shape.
- Use a nail brush to clean nail dust.
- Gently push back cuticles using a cuticle pusher.
Step 2: Apply the base coat
- The base coat protects nails and improves color adhesion.
- Apply a thin layer of base coat, avoiding skin contact.
- Cure under UV/LED lamp for the recommended time (usually 30–60 seconds).
Step 3: Apply gel color
- Shake the gel polish bottle well before use.
- Apply 2 thin layers, curing each layer under the lamp.
- Ensure even coverage without bubbles.
Step 4: Apply the top coat
- The top coat protects the color, adds shine, and increases durability.
- Apply a thin layer of top coat and cure under the lamp.
Step 5: Check and finish
- Carefully check for smudges or bubbles.
- Use a cotton swab dipped in remover to clean excess polish if needed.
Notes when applying gel polish at home
- Use quality products: Investing in good gel polish and tools helps nails last longer.
- Check your UV/LED lamp: Make sure it works properly so the gel cures completely.
- Avoid water and chemicals: Limit exposure within 24 hours after application.
- Nail care: Use cuticle oil before and after polishing to keep nails healthy.
- Remove old polish completely: Clean off old gel before reapplying to avoid weak or dull nails.
3. Important tips when applying gel polish at home
Important tips when applying gel polish at home
3.1 Use high-quality tools and products
- Tools: Investing in professional nail tools from Kềm Nghĩa helps ensure accuracy and ease during gel application. Their products are made from high-quality materials, ensuring durability and safety.
- Gel polish: Choose authentic gel polish with clear origins to ensure good color payoff, shine, and longevity. Low-quality gel polish can damage nails and produce uneven results.
3.2 Check the UV/LED lamp
The UV/LED lamp plays a crucial role in curing and durability. Before applying gel, ensure the lamp is working properly and the bulbs are evenly lit.
If the lamp is old or weak, replace it to ensure effective curing.
3.3 Avoid water and chemicals right after application
Within 24 hours after applying gel polish, limit contact with water and strong cleaning chemicals. This helps the polish adhere better and prevents peeling.
When washing dishes or doing housework, wear gloves to protect your nails.
3.4 Moisturize nails before and after applying gel
Before applying gel, moisturize your nails with cuticle oil or hand cream. This keeps nails healthy and improves polish adhesion.
After application, continue moisturizing nails and surrounding skin to prevent dryness and peeling.
3.5 Remove old polish completely
Before applying new gel polish, ensure all old polish is fully removed. Any remaining residue can cause uneven color and lifting.
Use a professional remover and cotton pads to gently clean nails without damaging the nail surface.
To keep your gel nails beautiful and long-lasting, maintain regular nail care by trimming, filing, and moisturizing. Avoid using your nails to pry objects open or perform heavy tasks that may cause breakage.